HOW TO CREATE A LOOPING SLIDESHOW IN GOOGLE SLIDES

Have you ever wanted to set a Google Slides slideshow to loop through the slides automatically?
Maybe you want a slideshow looping during Back to School Night or in the background while students are working with directions or examples.
Unlike Microsoft PowerPoint, Google Slides does not allow you to set specific time for each slide to automatically advance. But, you can still create a looping slideshow by publishing the file to the web... I promise it isn't as hard as it sounds! Here's exactly how to do it:

STEP 3:
Click "File" in the top toolbar, hover over "Share" with your cursor (so more options appear), and then click "Publish to the web".
A new window titled "Publish to the web" will appear.

STEP 4:
Under "Auto-advanced slides:", choose the desired length of time each slide will display.
Check the boxes next to "Start slideshow as soon as the player loads" and "Restart the slideshow after the last slide".

STEP 5:
Click "Publish" at the bottom and then click "OK" in the window that pops up asking if you're sure you want to publish this selection.

STEP 6:
Copy the link that appeared in the window after step 5.
TIP: You can triple click the link to select all the text, right click, and choose "Copy" or use keyboard shortcuts (Ctrl + C or Cmd + C) to copy the link.

STEP 7:
Paste the link in a new tab.
TIP: Put your browser into "full screen" mode to display the slides like a traditional slideshow.
NOTE: You can always adjust the settings by repeating steps 3-5.

BACK TO SCHOOL NIGHT SLIDE TEMPLATE
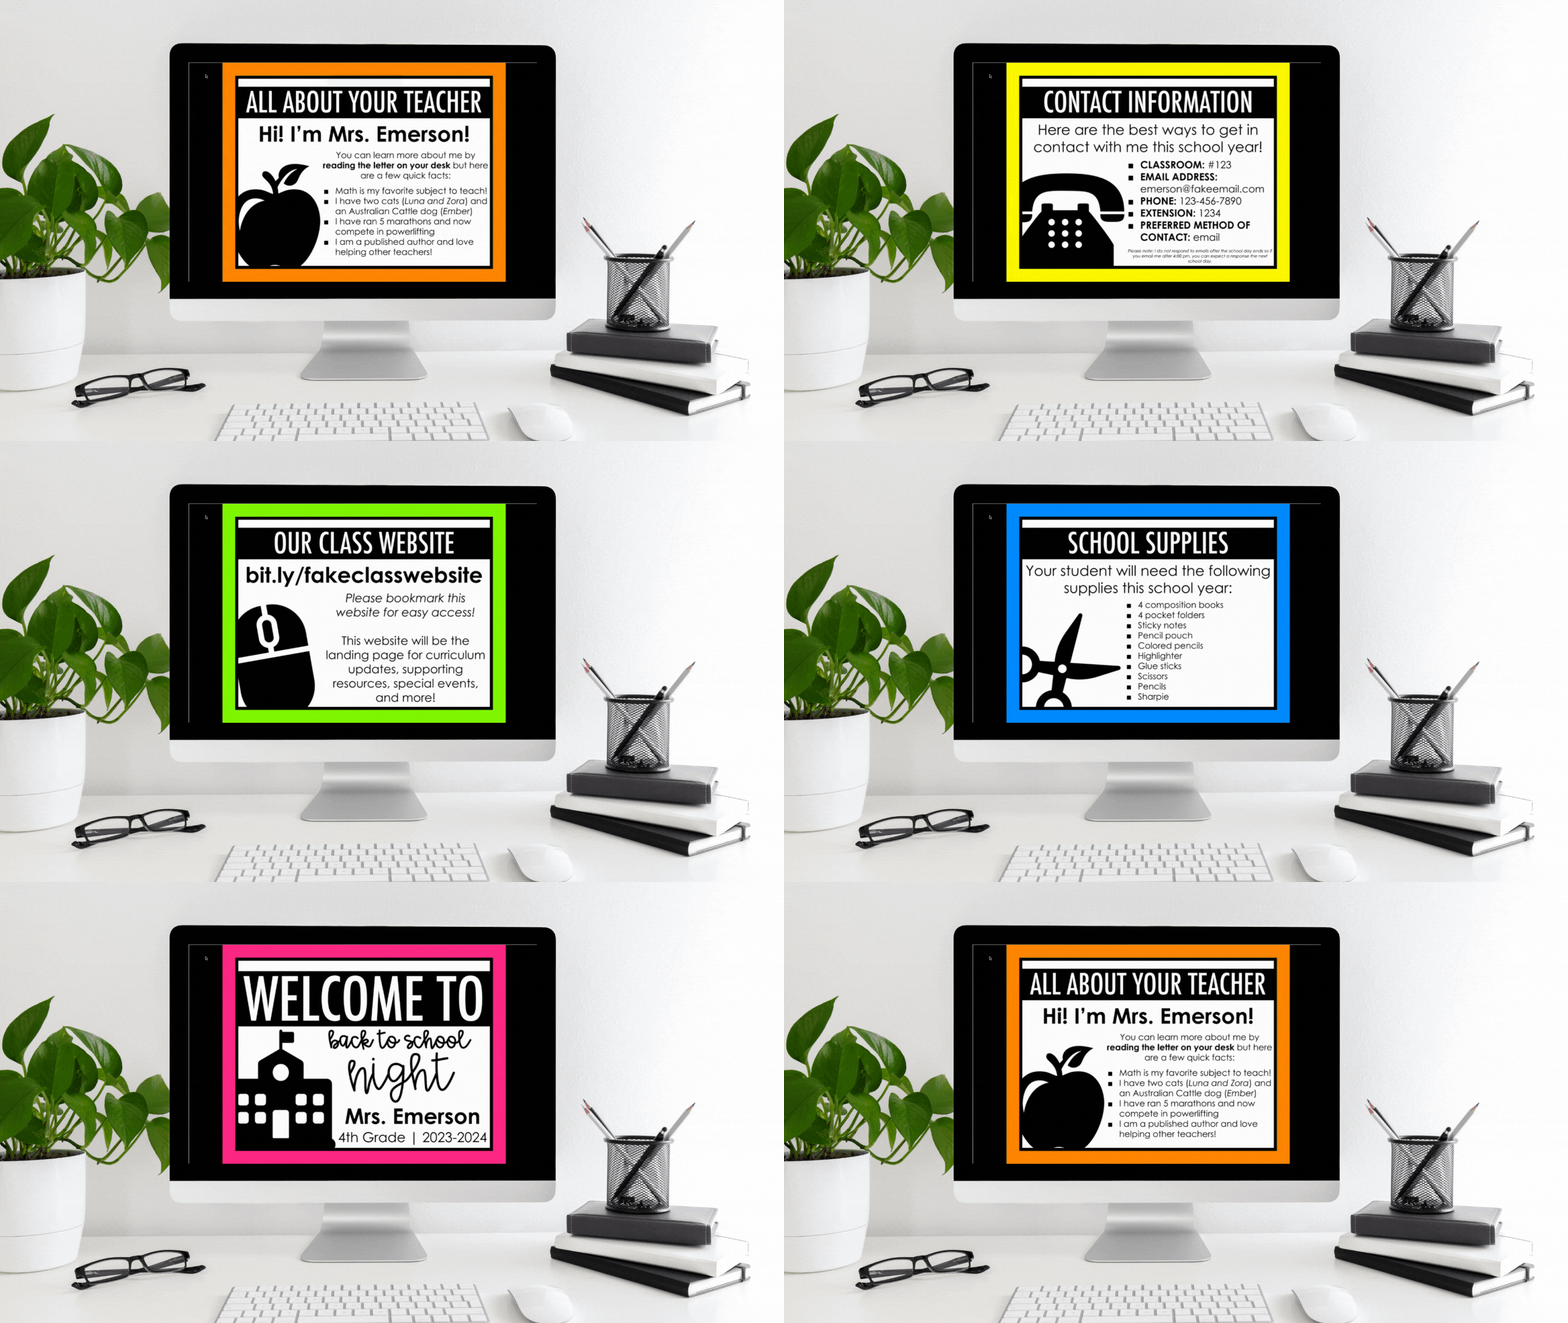
If you want to create a looping slideshow for a Back to School Night or a Meet the Teacher event, I have a Google Slides template that might save you some time!
This product includes both PowerPoint and Google Slides templates so you can choose the format that works best for you. The slides are already designed with the borders, titles, and images so all you have to do is add your own information!
Then, you can use the steps above to loop your slideshow during the event!
The background color of the slides is EDITABLE so you can customize them to fit your classroom theme or school colors. A blank slide is also included that allows you to edit the title and add your own clipart of pictures as needed.
You can grab the Google Slides template using the link below:
MORE GOOGLE SLIDES HACKS
If you found this tutorial helpful, you might also enjoy these other Google Slides hacks!
Here are some of the ideas shared in the video:
■ Adding music to your slides
■ Adding an outline to text using Wordart
■ Cropping an image to a specific shape
■ Creating a force copy link
Check it out below and don't forget to subscribe to my channel (it's FREE and I post new videos weekly):
FREQUENTLY ASKED QUESTIONS:
What exactly does "publish to the web" mean?
When you publish a file to the web, you are allowing the file to be visible to others on the web. It is important to keep this in mind if the file includes private or sensitive information. However, if you are using a Google account created by a school, district, or organization, you might have the option to make the published file visible to only those in your organization or a group of people in your organization.
Do I need to republish the file if I've made changes to my slides?
Nope! Any changes you make will automatically update in the published version. However, it may take a few minutes for these changes to display.
How do I stop publishing the file to the web?
Click "File" in the top toolbar, hover over "Share" with your cursor (so more options appear), and then click "Publish to the web". In the new window that appears, click "Published content & settings" and then click "Stop publishing".
How come I don't see the "Publish to the web" option?
If you are using a Google account created by a school, district, or organization, your account administrator might have turned off the ability to publish files to the web. You can contact your account administrator to see if the setting can be turned on.
Can I embed the looping slideshow on a website?
Yes! Instead of using the link, you can click "Embed" in the "Publish to the web" window. After you adjust the settings as desired, you can copy and paste the HTML code in the correct location on the website.


